因为个人倾向于系统有的东西,就不使用其他工具一键安装。所以,本文使用macOS自带的Apache与PHP配置PhpStorm开发环境。
下载
https://www.jetbrains.com/phpstorm/download/ 得到dmg安装包 PhpStorm-2017.1.1.dmg
安装
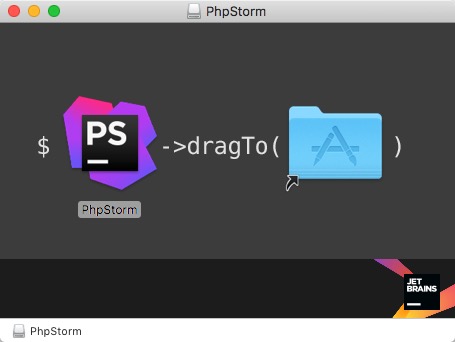
双击PhpStorm-2017.1.1.dmg,将PhpStorm做到Application中。
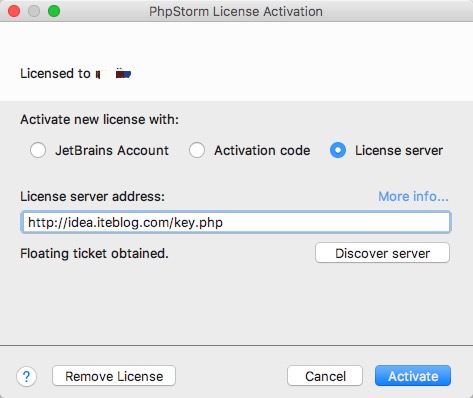
在Application中运行PhpStorm一路下一步。最后使用license server 方式激活,license server 地址:http://idea.iteblog.com/key.php
配置环境
默认mac中都是自带php,apache,PHP在目录/usr/bin/php中。
配置Apache
apache默认站点根目录为:
配置文件在
加载php
文本编辑器或者vim打开httpd.conf
搜索LoadModule php5_module libexec/apache2/libphp5.so,将前面#号去掉。
目录权限
配置MySQL
不借助任何第三方安装工具,手动进行MySQL的下载到卸载教程。macOS安装MySQL教程
配置PHP
。。
保存后重启apache
xcdebug.so默认是在/usr/lib/php/extensions/目录下,但是no-debug-non-zts-20131226版本不尽相同,需要设置成自己系统里的。
使用Phpstorm
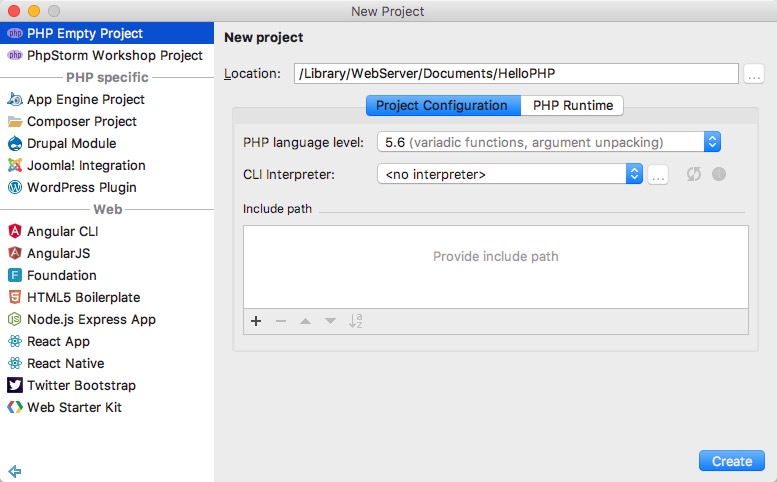
create project =>PHP Empty Project =>location 浏览或者填写目录为apache网站目录的子目录,/Library/WebServer/Documents/HelloPHP
右键建好的公工程左侧导航条项目名上,new file,index.php 输入段测试代码
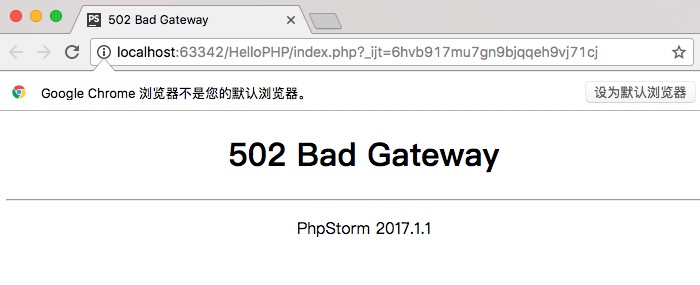 会发现,网站运行在localhost的63342端口,并且报了Phpstorm 502 Bad Gateway错误。
原因是没有配置PHP解析器。
第二种使用macOS自带PHP与Apache网站目录并且使用80端口。
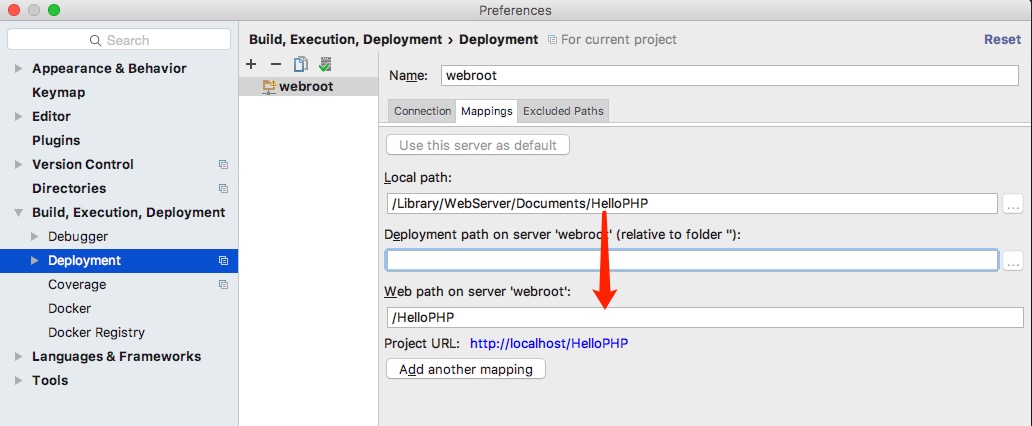
在Phpstorm的Preference->Build, Execution, Deployment->Deployment->点+新建, name自定义,我起名叫webroot。 type选择Local or mounted folder。
Mappings中,我们看到local path为我们新建的php目录地址,web path on server 'webroot' (relative to folder).
因为apache容器的根目录为/Library/WebServer/Documents/,所以在其中填入相对于/Library/WebServer/Documents/的目录名称,即HelloPHP保存。
点击浏览器预览。
配置Debug模式
配置安装Xdebug
vi或者编辑器前往后编辑php.ini
底部增加Xdebug配置,用来使PhpStorm有断点调试等功能。
PHPSTORM设置
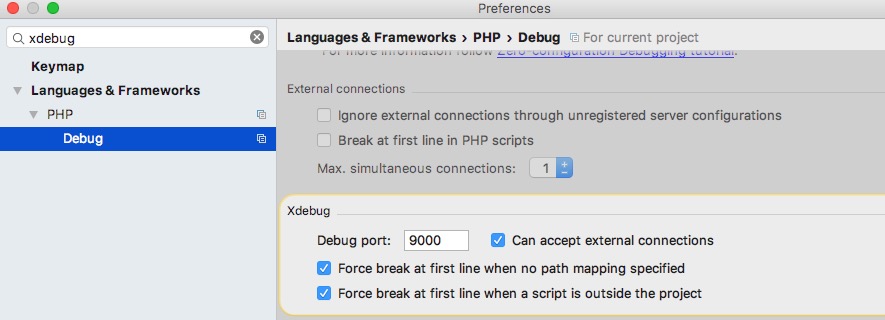
首先检查phpstorm的xdebug配置,这里的debug port要和php.ini里面的xdebug.remote_port相一致!默认是9000,如果9000端口被占用的话,可以改成其他端口。
进入Debug>DBGpProxy,IDE key填PHPSTORM,host填localhost,port 填80
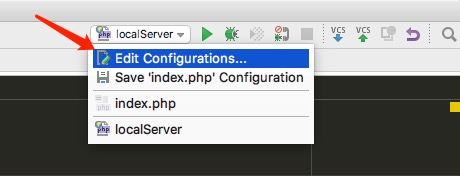
1.编辑配置
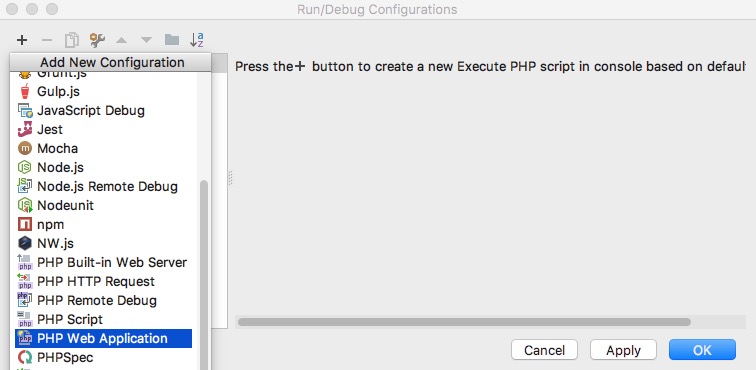
2.点击+号,PHP Web Application
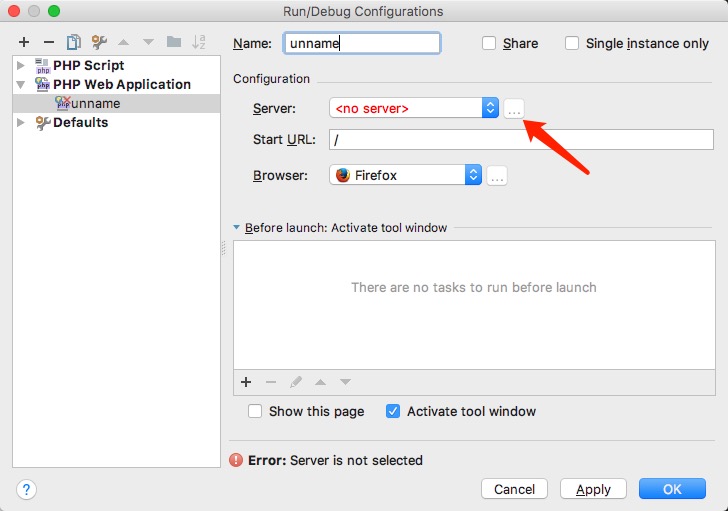
3.浏览一个server,没有的话新建
可以命个名
4.新建一个server
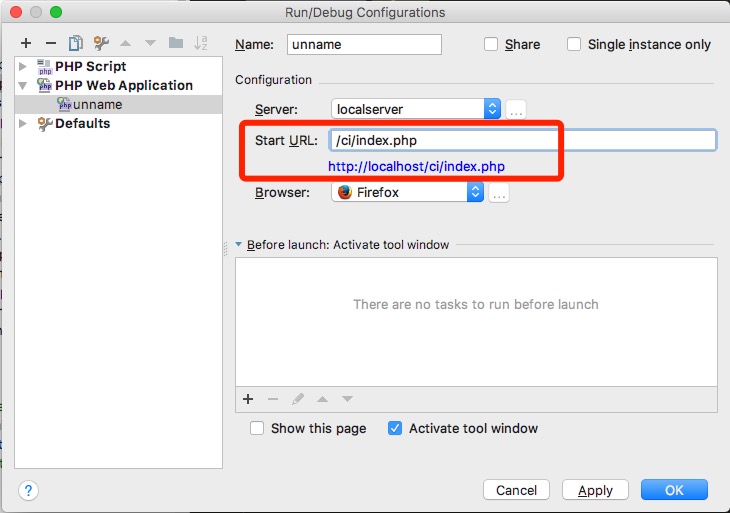
5.设置run、debug自动浏览器打开的开始页面
6.选择配置后点debug按钮。
 7.点击电话图标按钮
enjoy it!
转载请注明:天狐博客 » macOS下安装配置PhpStorm
